Smoking cannabis from a regular tobacco pipe may either make or break your chance to be satisfied. In many cases, a tobacco pipe does not offer the most potent, efficient, and satisfying way to consume weed. Still, it will be the only solution you have if you don’t have anything else to use. If you’re looking for a more tailored experience, learning how to make a wooden pipe might be a good alternative.
Cannabis smokers are using pipes for a very long time. According to historians, even the famous William Shakespeare used a pipe to smoke pot with marijuana residue discovered in the excavated pipe from his antique home.
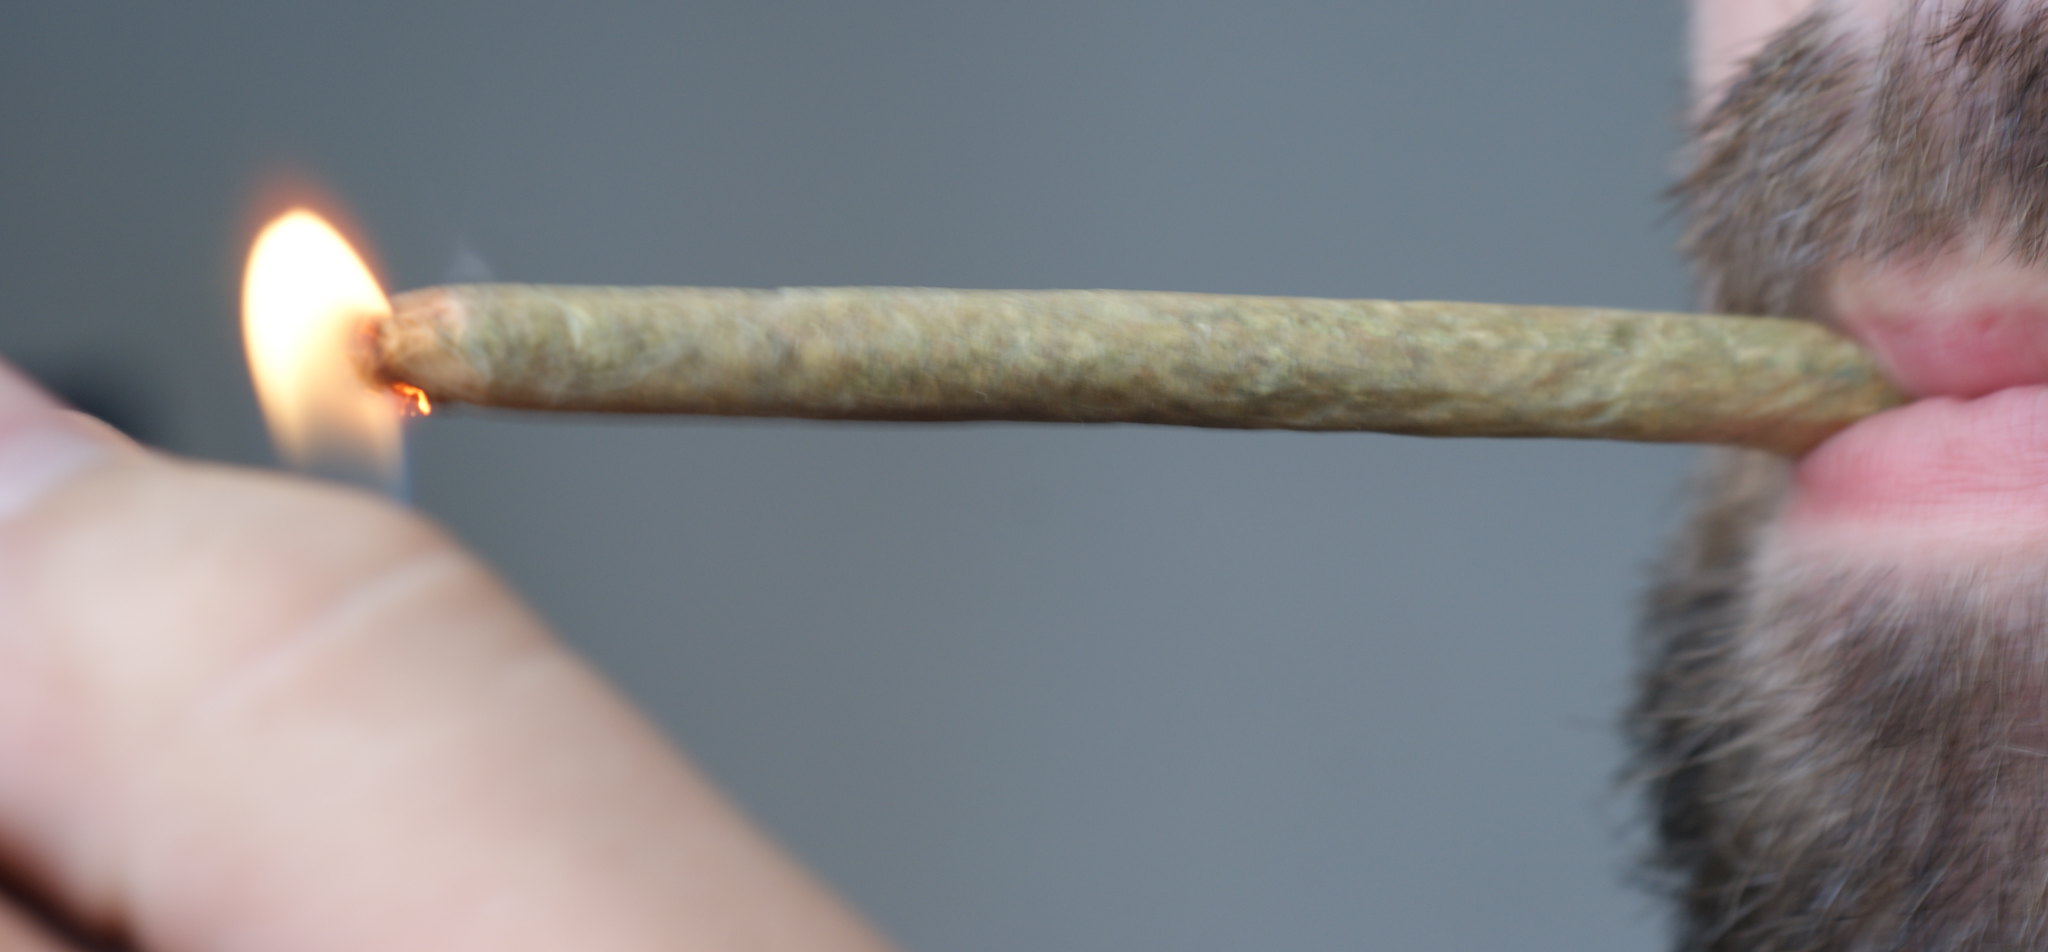
If you don’t want to use rolled papers or any other tool for smoking marijuana, learning how to make a wooden pipe would be a great idea.
Why is a Marijuana Pipe Special?
The basic cannabis pipe doesn’t have physical differences from the tobacco pipe. However, cannabis pipes are often crafted with glass, while regular tobacco pipes can be made with various materials with the bowl pieces that are often made with clay, corncob, briarwood, or meerschaum.
Sometimes, a cannabis pipe is made with ceramic, metal, silicone, bamboo, or wood. Take note that a cannabis pipe must not be made with anything made with aluminum like the aluminum foil. Some users make tiny pipes made with aluminum foil for single use. Aluminum foil is not a good material to use as it can be dangerous for your lungs.
How to Make a Wooden Pipe? Steps to Follow
For this task, the needed materials are the following:
- Saw
- Drill
- Drill bits
- Dust mask
- Sandpaper
- Wood
You can work on any type of wood. However, if cherry wood is available, go for it. Cherry wood is easier to work with. Besides, it looks good.
Directions:
Step #1: Cut Out Your Pipe
Download a PDF file for making a wooden pipe and print it on a sheet of paper that measures 11 inches by 8 inches. Cut out your pipe stencil, trace it twice on a piece of cherry wood or any other type of wood.
In tracing the pipe, make sure that its stem is corresponding to your wood grain. When you trace the pipe against your wood grain, the stem would be extremely fragile and may even break up. Once done, cut out 2 pipe shapes. You can use either a jigsaw, band saw or anything you have.
Step #2: Drill the Bowl
You’ll need the 13/16 drill bit, C clamp, and a drill press or just a drill if this is the only solution. Line up the 2 halves of your pipe then lock them together on the base.
After that, make a straight line from the upper right angle to the lowermost left angle. Draw a second line from the upper left angle to the lowest right corner. Find the part where these lines intersect. It is where you will drill the hole.
Place the 13/16 drill bit on the drill press and start drilling, making the point on the drill bit go directly in the middle of your pipe bowl. Move downward for an inch and halt.
Step# 3: Locate the Airway
The airway is the pipe’s diagram that you must carve. Copy it on the pipe cutouts. This way, if you put the 2 halves together, the airway sketch will be on the interior. You can use whether a rotary tool or Dremel in craving it. Just make sure you don’t go down further to the stem.
After carving, proceed with lining up 2 halves of the pipe, so this way is on the interior. Give it a try by putting your lips to the stem’s tip and blow. If you can blow over it with ease, you can move to the succeeding step. If you can’t, just keep on carving.
Step #4: Glue the 2 Halves Together
Get a strong glue that works on wood and apply a pea-sized amount on the vacant spots in which you have not carved. Also, put a smaller amount of it on the stalk because if you place the 2 halves together, the wood glue will fail to penetrate the airway and cause a blockage. Clamp the 2 halves together. You can also place them in the vice for a couple of hours or so.
When it dries completely, remove it from the clamp and deeply blow in it. If you can blow over the pipe, then that means the device is ready to use. If not, put the tip of the flathead screwdriver over the seam in which the halves met each other.
Tap the screwdriver’s top by using a hammer to break them apart. Sand all glue off and cut the airway slightly deeper. Try to paste them together for the second time.
Step #5: Cut Out the Pipe’s Stem
Use a hack saw, or even a band saw. Mark the line down on the sides of the stem. Be sure it is wider on the tip where your mouth will blow air. A broader stem fits better in the mouth. With extra care, cut down every line that you drew. If you used a hack, saw, cut from the side going to where you paused cutting on a pencil line.
Step #6: Sand the Pipe’s Stem
Use a rotary tool in carving off the corners of the stem. Keep carving the stem until you’re sure it is good. Use some sheets of 80-grit sandpapers and slightly sand the stem. Continue with finer 150-grit sandpapers and sand further the stem. Keep on moving forward on the grits until you reach 500 grit or even higher.
Step #7: Carve and Sand the Bowl
Cut off the bowl’s corners by using the hack saw. Be careful that you don’t cut too deeply into the pipe. When you’re done with cutting off the corners, get some 80-grit sandpapers and sand the entire bowl.
You can sand by hand, but the job will be time-consuming. If you have an electronic DA sander for this step, then feel free to use it.
Step #8: Finish the Pipe
You can use wood stain in adding some sort of style and class to your pipe. However, don’t do it if you want to use the pipe right away because if you light it up, your wooden pipe would be in flame and burn.
After using wood stain, apply for some coats of lacquer. Again, don’t apply varnish, lacquer, or wood stain if you planned to use the pipe right away. If not, apply those materials and leave at least 2 days or longer until those things dried completely.
If you want a type of finish that wouldn’t be flammable, you can use mineral oil instead. Mineral oil offers a good food-safe texture that can be used in finishing the smoking pipe. Apply a small amount of the mineral oil on 1500-grit sandpaper and wet sand the entire pipe. After that, shine the pipe with a paper towel or rag. Your pipe is now ready to use.
Conclusion
Those are the easy steps to take on how to make a wooden pipe. Hopefully, you enjoy doing each step while making you more excited for the finished product.