0
$0.00
Message Us
0
$0.00

Cross Joint: How to Roll it Like a True Stoner

5829292037 c38d7b6162 k
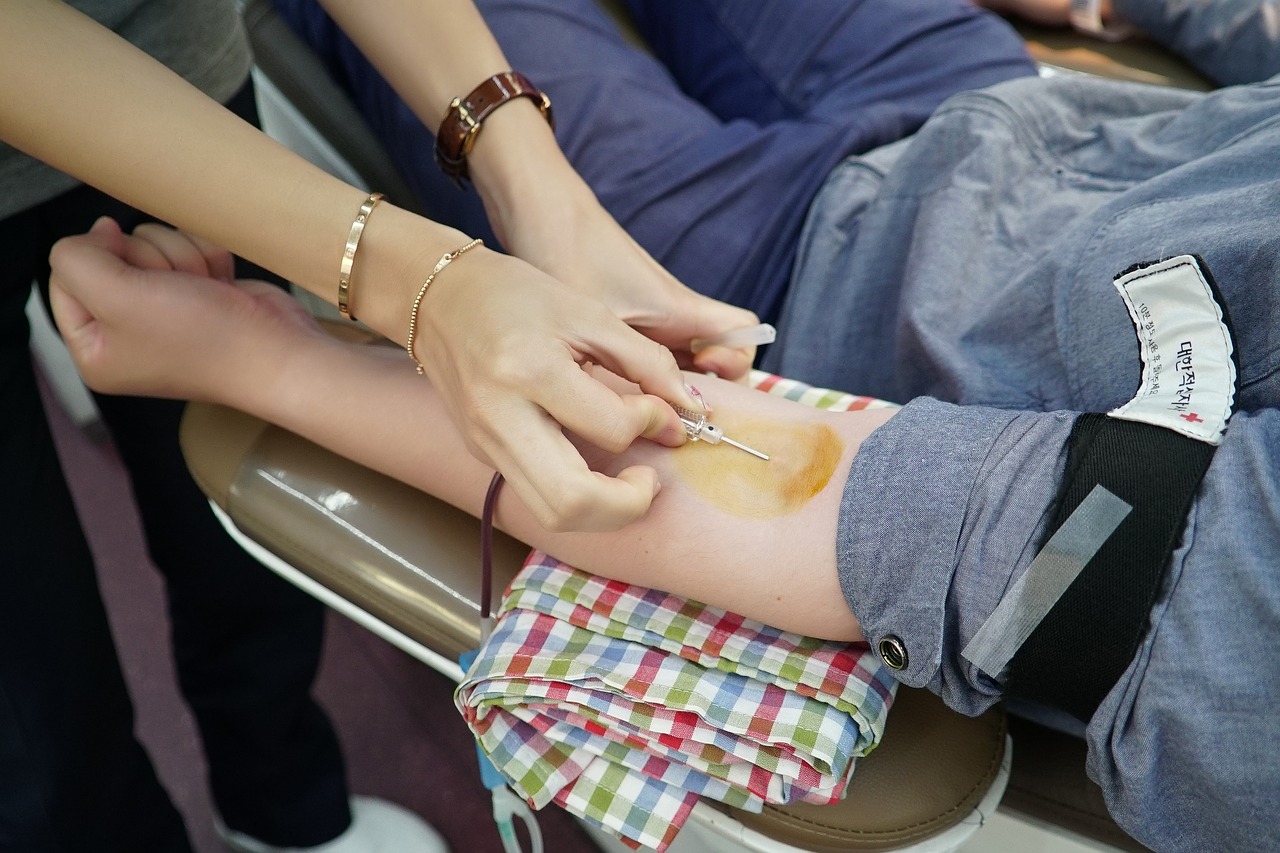
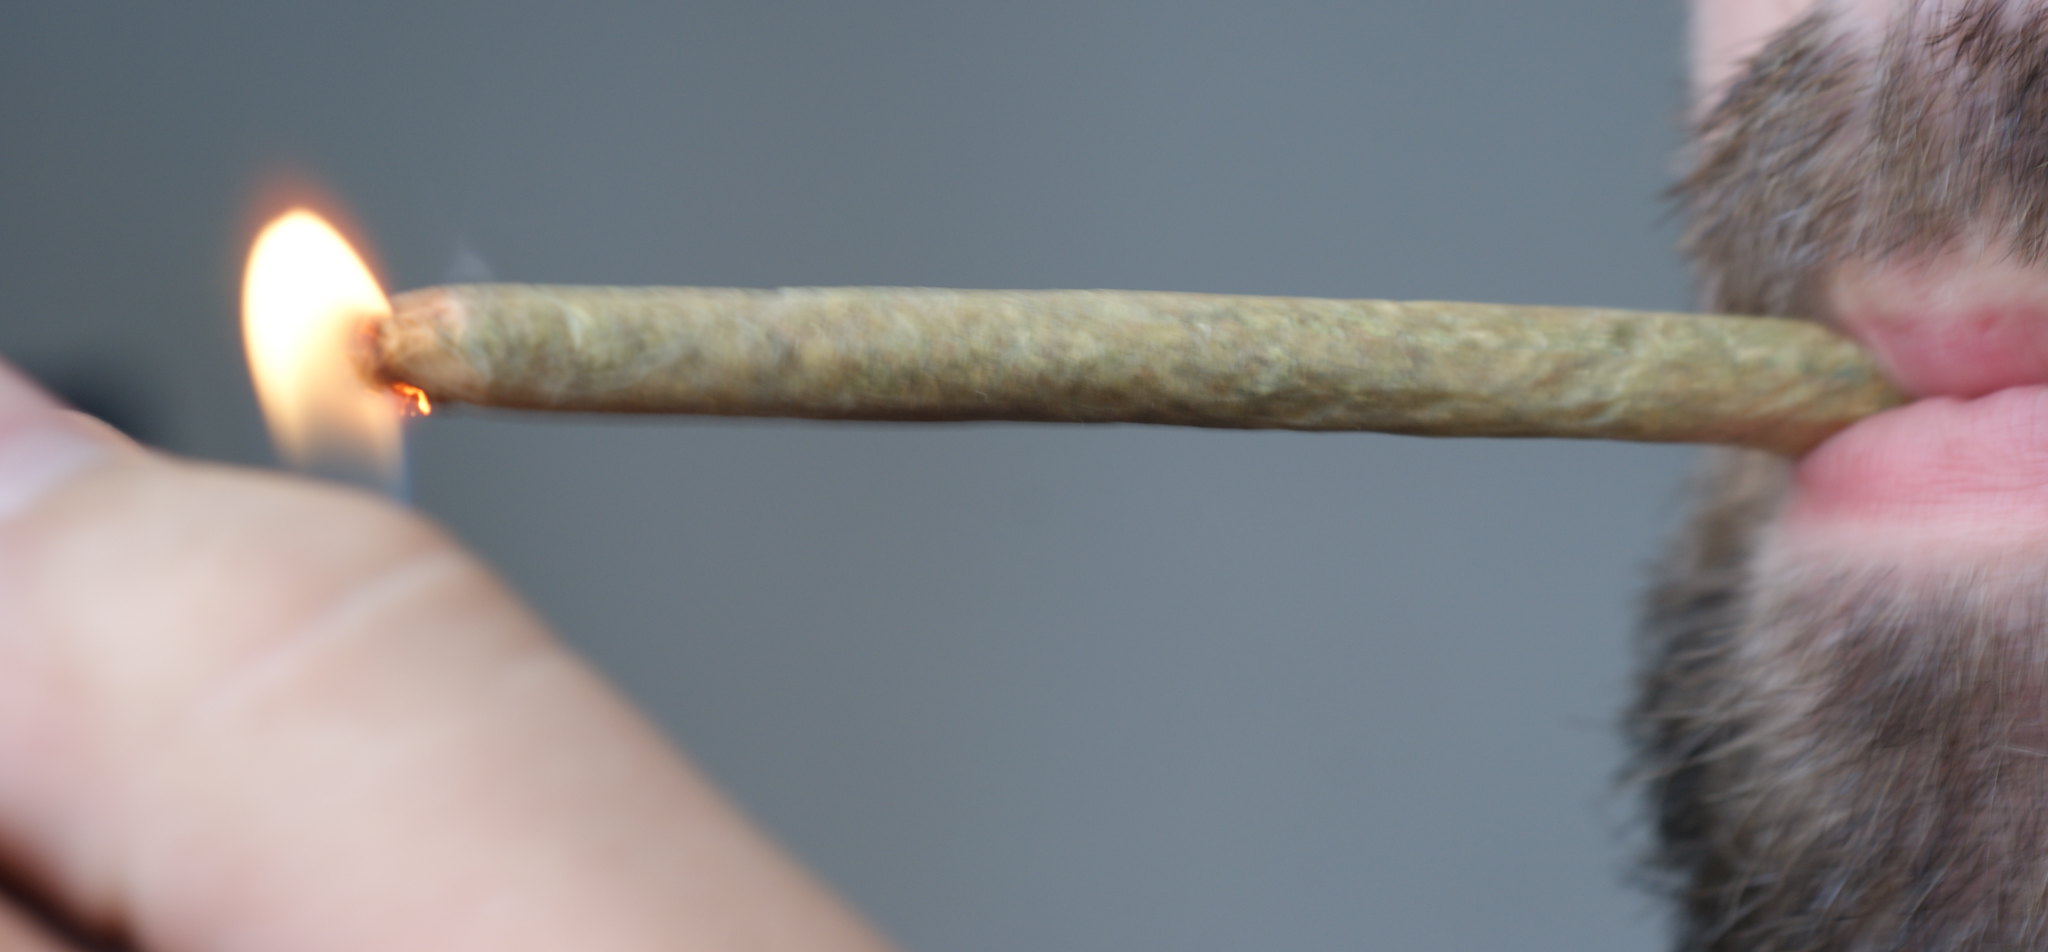
If you have been in the community of cannabis for quite a while, then you may likely encounter the different complex cannabis consumptions – finding methods you can pamper in your choice of bud. From high-performance gongs to joints of various shapes like the most common cross joint, the methods to get high is likely boundless.  If you are one of those who see at these complex joints and believe you can never do something similar to that for yourself – then think again since you can be mistaken. It is about time that you learn how to roll a cross joint just like a professional.

How to Roll Your Cross Joint

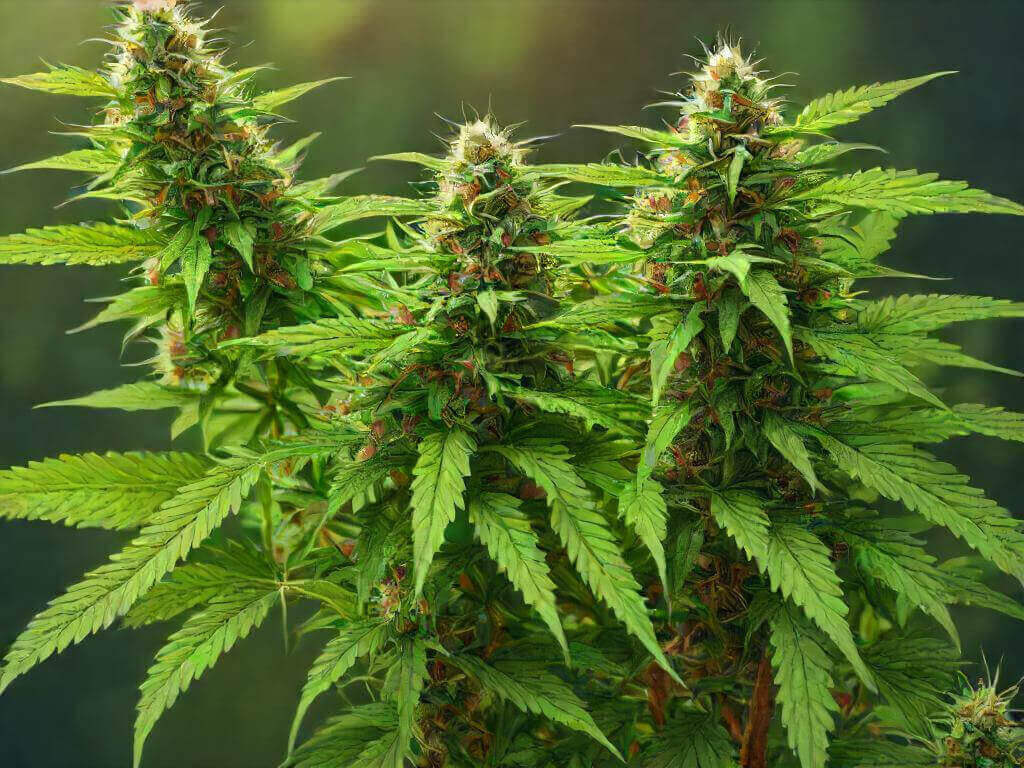
They say that if you want to be a real stoner, you should learn how to roll a cross joint. Well, any enthusiasts would agree to this. But what if you are completely clueless about the steps involved? Don’t worry. This article is about to demonstrate to you the steps on rolling a cross joint.  But before anything else, you must secure the following things:
  • Your choice of weed
  • Small rolling papers
  • Big rolling papers
  • Grinder
  • Scissors
  • Pin, needle, or wire
  • Small cardstock or cardboard (optional)

Steps:

1. Roll a Big Joint

This step demands the use of a big rolling paper. Roll a joint that is relatively bigger to the one you normally roll for a common smoke sesh. When we talk about “big joint” – we do not mean about the length but rather the thickness.  Hence, if this is your first time doing this, it will be more manageable if you have someone else available to help you with your work. Roll the first big joint in such a way that it appears like a blunt rather than a common cannabis joint.  After familiarizing yourself with assembling a cross joint, you will easily figure out how to make a smaller one, if you opt to. If you roll this big joint, you should free a little of a hollow twist at the edge of the joint. The hollow twist makes the joint much simpler to light once it is time for a session.

2. Place a Small Cardstock or Cardboard at the End (Optional)

This step is optional. However, Seth Rogan, the most popular man who roll cross joints, attaches a little piece of cardboard at the butt portion of his cross joints. There was no explanation from him why he’s doing such a thing; however, he had a great experience with this approach that we will put off to his understanding. Most probably, the cardboard is attached to serve as a mouthpiece so one can burn the joint down to the very end and utilize each last part of cannabis. If that is the scenario, then it will be great to give this step a try too. To ensure that it works, cut a little layer of cardstock or cardboard. You do not have to create a very long strip – 2 or 3 inches will be enough. The width needs not to be very broad, too – ½ inch will do. You may customize this build according to your requirements, so you can make it broader if you opt to. Once you are done with the cutting, roll, then cardboard strip to form into a cylinder with the size of your big doobie. Rogan prefers to keep this step intended for the very end as he crams the board into the butt portion of the cross joint. You can imitate the expert with it comes to this, or you may assimilate the piece of cardboard into the first procedure. A lot of cannabis enthusiasts opt to eliminate this step and simply roll as cross joints without attaching cardboard. That is acceptable, too. Conclusively, it will be up to you whether you will find it necessary to use cardboard or not. Consider assembling a cross joint with or with no cardboard, and consider putting in the cardboard at the first and last part of the process.

3. Make a Thin Joint

Next, by utilizing a small rolling paper, create a thin joint to act as the cross-section of the cross joint. The thinner joint you can create, the more manageable you can assemble the cross joint. Once you familiarize yourself with the step, you can begin making the thin joint with whatsoever size you prefer.  Again, if this just your first time doing it, we recommend that you do the thinnest joint possible to make it simpler on yourself in the following steps. Just like what you did with the big joint, you should free a hollow twist at two ends of the thin joint to facilitate easier smoking later.

4. Thrust a Hole in the Big Joint

After making your big and thin joint, get a needle and thrust dent three-quarters of the way from the base of your big doobie. However, do it slowly and do not attempt to rush things. You can piece of wire, a sharpened pencil, pin, or anything that is similarly pointed. After the needle is intensively through the big joint, begin to work the dent wider. The hole in the big joint does not have to be big. The smaller the hole, the better so that it creates a better airtight once you put in the thin joint. Sight the size of the thin joint and create the hole in the big joint just a little smaller.

5. Thrust a Hole in the Center of a Thin Joint

This step is very crucial. You have completed your big joint, so put it aside. Get your thin joint and thrust a hole in the center. Again, make a hole that is a little larger. You do not have to create a very big hole, and surely not as big as the hole you make in the big joint.  We recommend making twice as large as the needle used to thrust the hole. The little hole in the thin joint permits the air to circulate from the top of the big joint to the lower end. If you do not thrust a hole in the thin joint, the resulting cross joint will not be smokable. 

6. Embed a Thin-Joint in the Big Joint

With the preparation already set, you are prepared to make your cross joint. Embed one edge of the thin joint with the hole in the big joint. Gradually carry out the thin joint with the big joint by pulling and pushing, and even twisting movements.  Do it slowly and do not do it fast, or you will burst either the big joint or the thin joint. 

7. Support and Seal Up the Cross Joint

You have almost reached the last part and set to light up. However, there is one more significant step to make sure that the cross joint is smokable. Put aside the cross joint, and get the scissors, and two additional rolling papers. The size is no longer important at this point. Cut the rolling papers enough for the glues off. After that, roll the glues surrounding the area where the thin joint goes through the big joint. This provides a cross joint a little more formation but is mainly used to create the joint sealed. If you do not airtight this part, if you go to inhale on your piece, the smoke and air will seep out from the sides. Once you have sealed the cross joint using the rolling paper glues, you are finally set to light up! Sit back and get pleasure from your cross joint. Naturally, what comprises the joint that you enjoy depends on you. However, we suggest a great number of friends, a pack of popcorn, and a comedy film enjoy throughout the night. 

Why Smoke a Cross Joint?

Joint smoke is the most popular method of using cannabis and molding it as an aptitude that patient who consumes it should nourish. Whether you enjoy getting high or utilize your chosen bud to alleviate medical manifestations – it can remunerate to sharpen the capability of rolling a perfect joint.  However, if you like to take a further step, you can find new and innovative methods of using cannabis, and one of those is cross joints. Do not allow their looks to deceive you, though. Rolling a cross joint can be amazingly easy. You can easily make your cross joints and awe your friends with a slayer joint!

It’s Fun Rolling A Cross Joint

You may question yourself – why need to roll a cross joint if you can simply do it with a regular joint. Well, there is a truth to that. But if you want to do it with fun, you should never miss rolling a cross joint. The smoke from cross joints can be very dreamy if done properly, and aside from that – they also look cool! If you are searching for innovative methods to become high – doing it with a cross joint is a definite way to awe. Be sure to enjoy what you’re doing and have fun with every weed!

Leave a Reply

Your email address will not be published. Required fields are marked *